I first heard about aquaponics at a permaculture talk in London. One of the speakers, Richard Tatum, described the aquaponics installation is his garage. Some months later I had the opportunity to attend a permaculture course at Richard’s home and even got to sample some of his Tilapia on the BBQ!
Aquaponics is the combination of aquaculture (fish farming) and hydroponics (growing plants without soil). Here’s how it works:
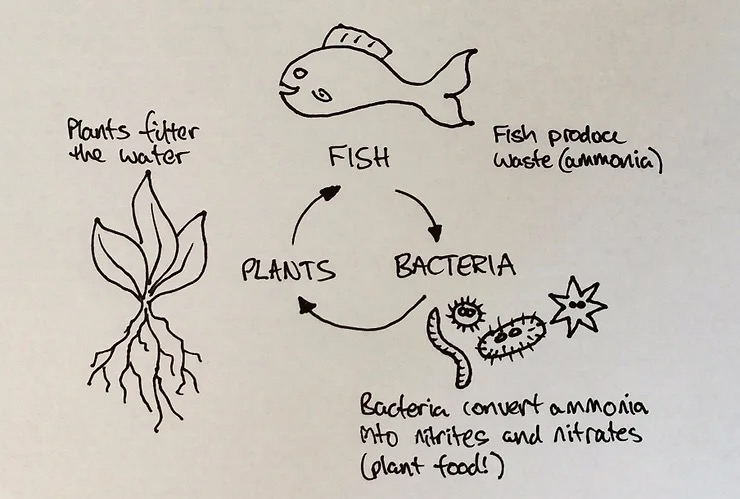
The plants grow in a soil-less growing medium (like gravel) which is periodically flooded and drained with water from the fish tank. Bacteria in the grow beds converts ammonia from the fish waste into nitrites and nitrates which provides the nutrients for the plants. As the water passes through the growing medium it is cleaned before returning to the fish tank.
There’s something very appealing about the concept of aquaponics. It’s a sustainable, closed system that is very economical in its use of water, and uses zero chemical fertilisers. The only inputs are fish food and electricity (to power a pump). The outputs are lots of vegetables and salad crops, and (so long as you leave enough to do their job) a supply of fresh fish!
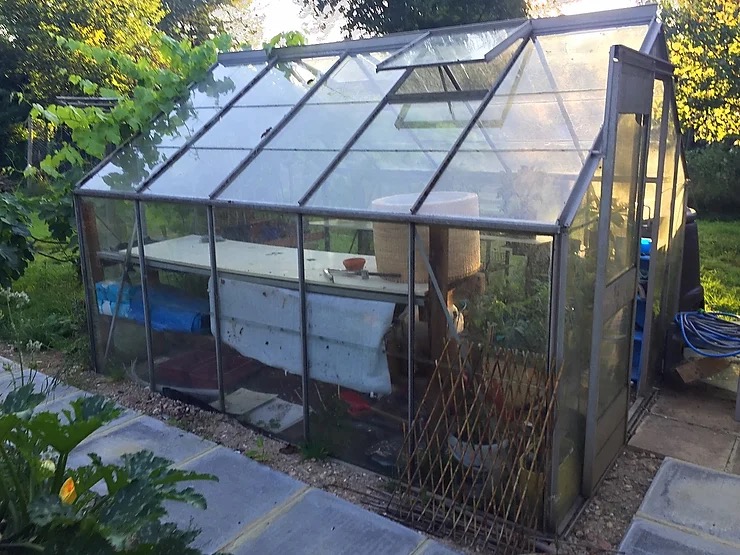
I learn best by doing, so the plan was to build my own aquaponics system in a small domestic size (10′ x 8′) greenhouse.
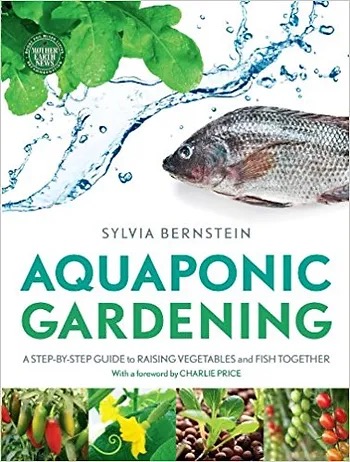
Sylvia Bernstein’s book Aquaponic Gardening provided a good overview and explained some of the common system configurations. I decided on a ‘CHOP2’ system (Constant Height in fish tank, One Pump) as it looked the simplest.
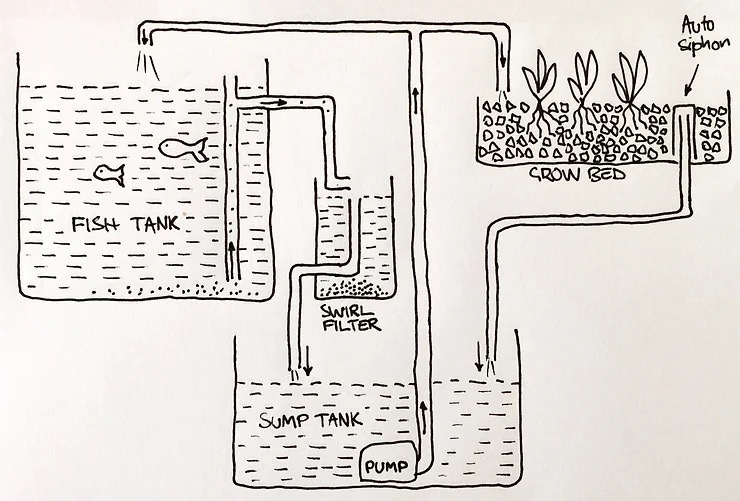
This was my design. The sump tank contains a submerged pump that’s running 24 x 7. The overflow from the fish tank draws water up from the bottom of the tank (to suck up the poo) and feeds into a swirl filter. Note the top of the fish tank overflow is open to avoid creating a siphon that could drain the tank if something went wrong! The swirl filter acts as a separator, trapping the fish poo and feeding clean(ish) water back into the sump. The other branch fed from the pump supplies the grow bed. This gradually fills up until the auto siphon empties it back into the sump. Then it starts to fill again.
Enough research – let’s get building!
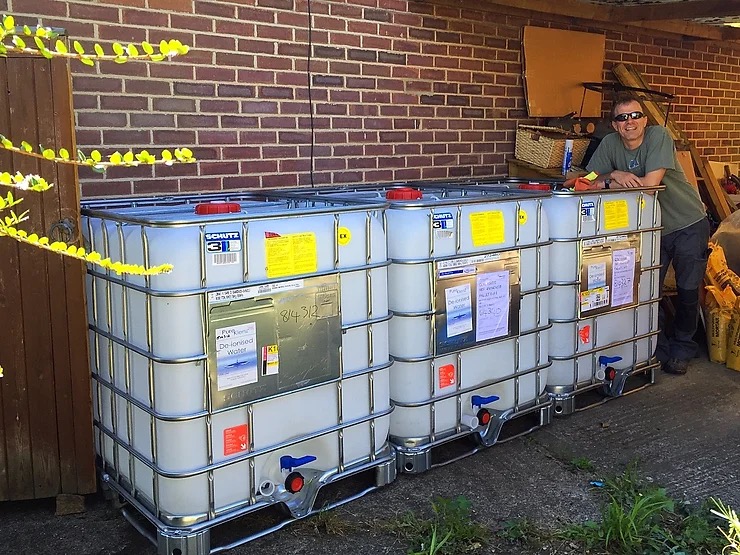
I wanted to base my system on IBCs (Intermediate Bulk Containers) – large plastic containers used to ship liquid products and foodstuffs. They’re cheap and modular and there’s plenty of IBC systems to look at on the web. IBCs typically incorporate a forklift pallet in the base and come in various sizes. I found mine on Gumtree for 25 quid each. They had previously been used for de-ionised water so I knew they’d be safe for the fish.
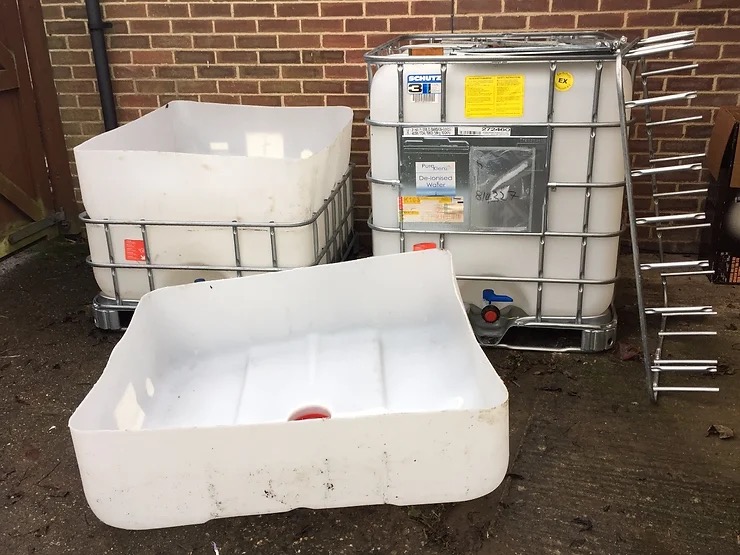
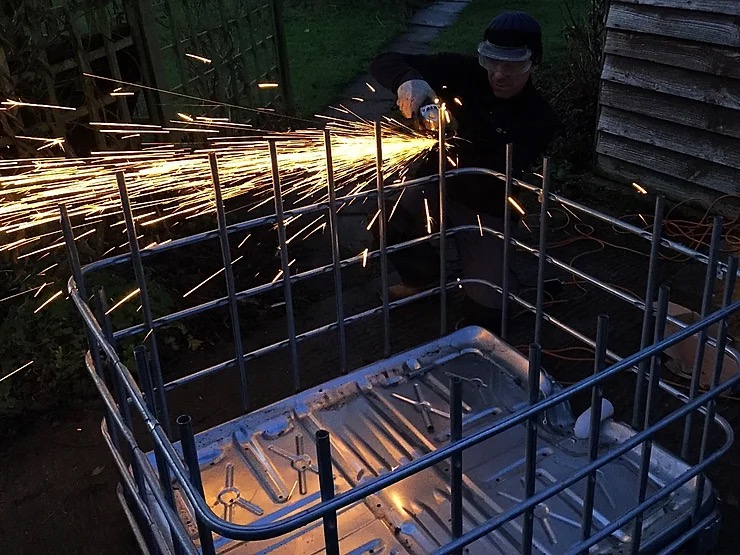
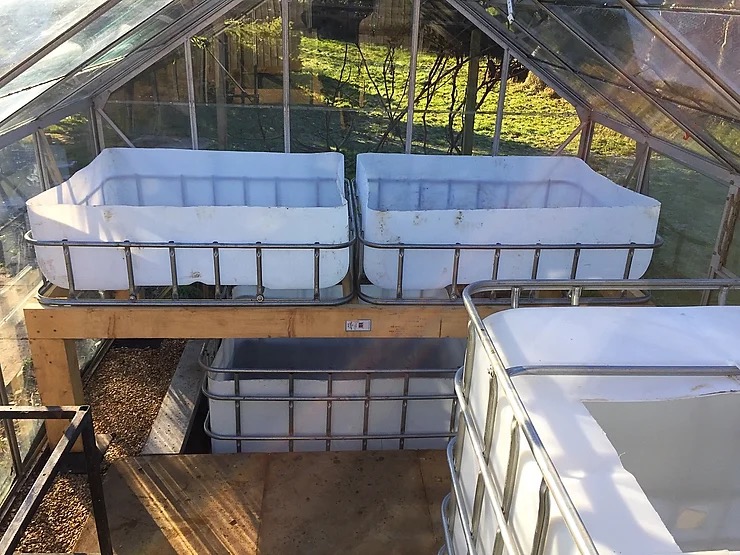
The first job was to cut up the IBCs. One remained whole, but with a hole in the top to access the fish. For the other two I cut the tops off to use as grow beds, and used the remaining two-thirds of a tank as the sump. Cutting them up is pretty easy using an angle grinder with a thin cutting disk for both the metal frames and the plastic tanks.
The CHOP2 design uses a pump in a sump tank to supply the fish tank and grow beds, then everything drains via gravity back to the sump. This is pretty simple in terms of plumbing. The main challenge had was how to squeeze two grow beds, a fish tank, and a sump tank into the very limited space of the greenhouse. The solution was to place the sump underneath the grow beds. This meant one thing – digging!
Swinging a pickaxe surrounded by glass is an interesting exercise, but eventually there was a large hole, big enough to bury the sump tank. The grow beds were then supported on a sturdy wooden platform above the sump. The platform has to support around half a tonne so it needs to be strong and well-supported to stop in sinking (I sat mine on concrete pads). The height of the grow beds is a bit of a compromise. It needs to be high enough to make a comfortable working height, but low enough so there’s enough room for plants to grow. And the lower you make it, the deeper the hole for the sump needs to be!
Eventually it was time to install the IBCs – and this meant removing some of the glazing panels.
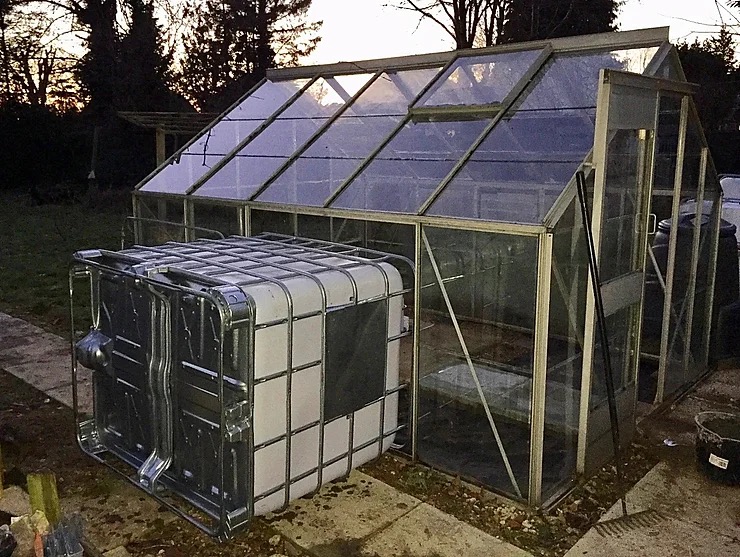
Once everything was in place we were pretty comfortable with the space – there was plenty of room to get to everything and the paving slabs helped keep things relatively clean and tidy.
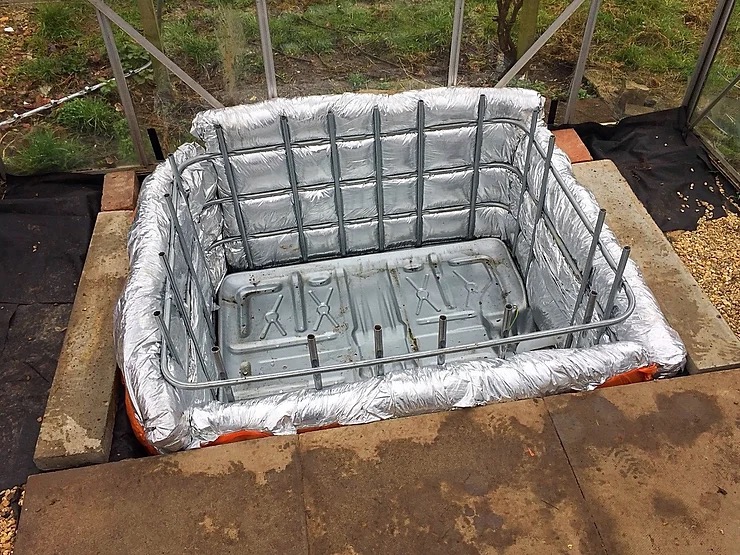
The last step was to add some insulation. Keeping the water warm was going to be a huge challenge so we used ‘space blanket’ loft insulation around and under the sump…
…and to lag the external walls of the fish tank.
That’s the heavy lifting done. In part 2 I’ll move on to the next stage – the plumbing!